
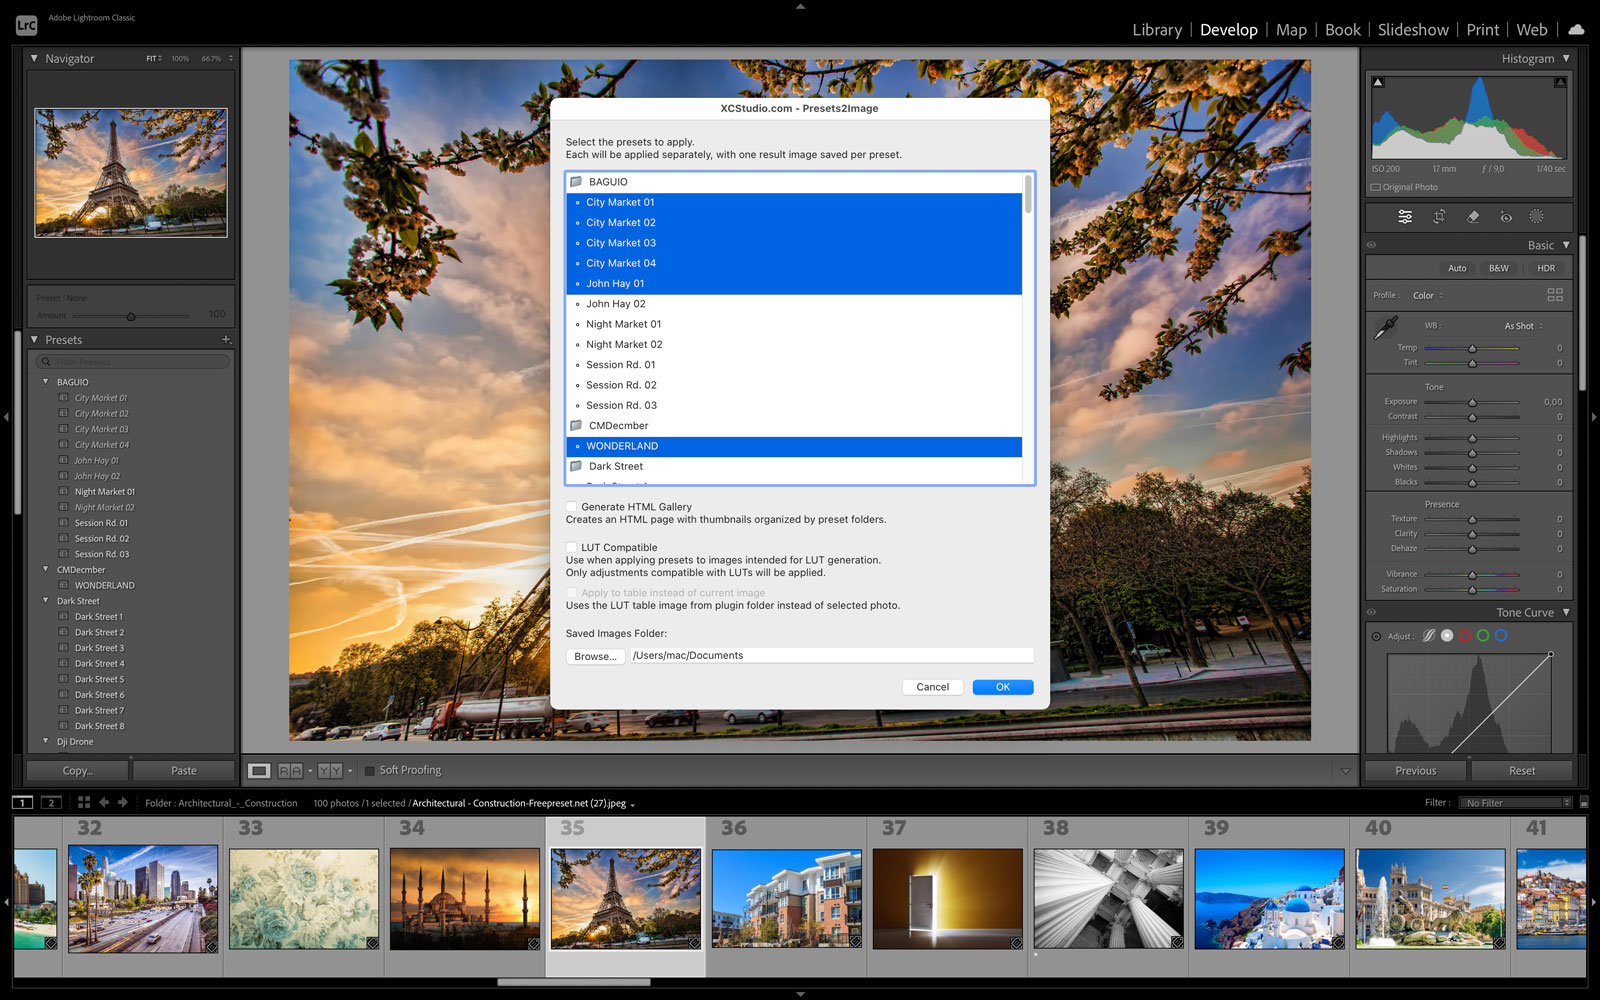
Presets2Image automates applying multiple Lightroom presets to a single photo and exporting the results. It's ideal for showcasing looks, comparing styles, building preset catalogs, and generating LUT PNG tables for later conversion to formats like .cube.
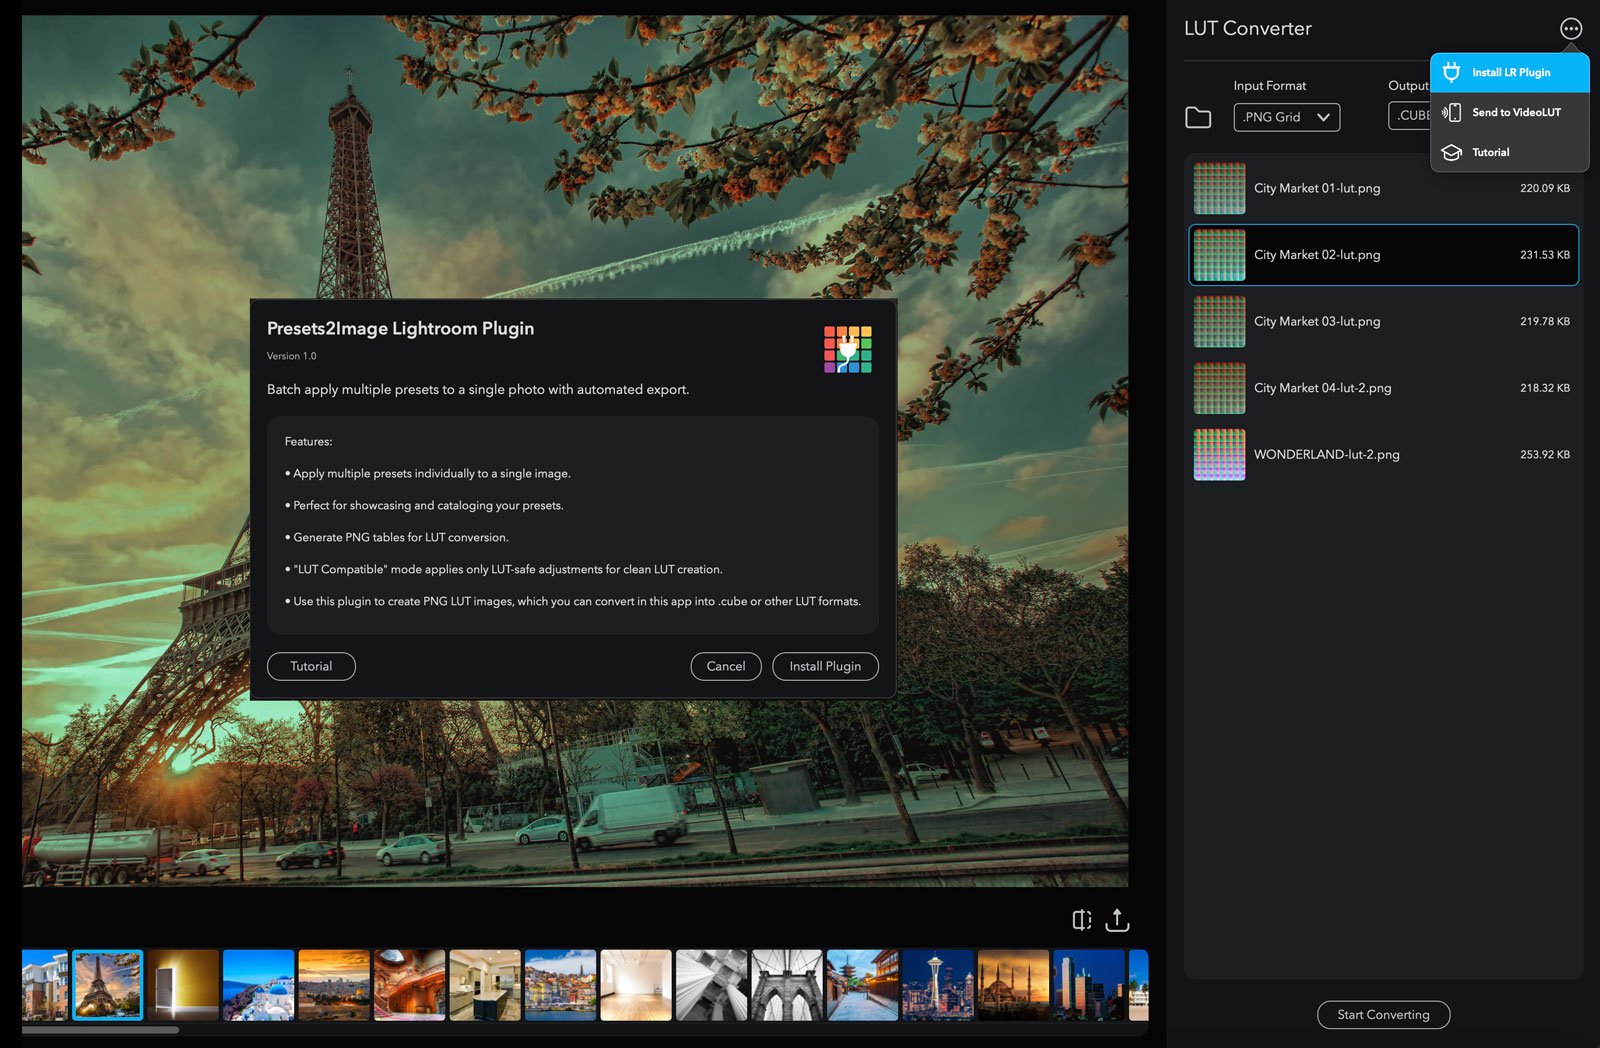
If you plan to convert PNG LUT tables into .cube or other formats, install the LUT Converter app from the Mac App Store. More info: xcstudio.com/lutconverter.
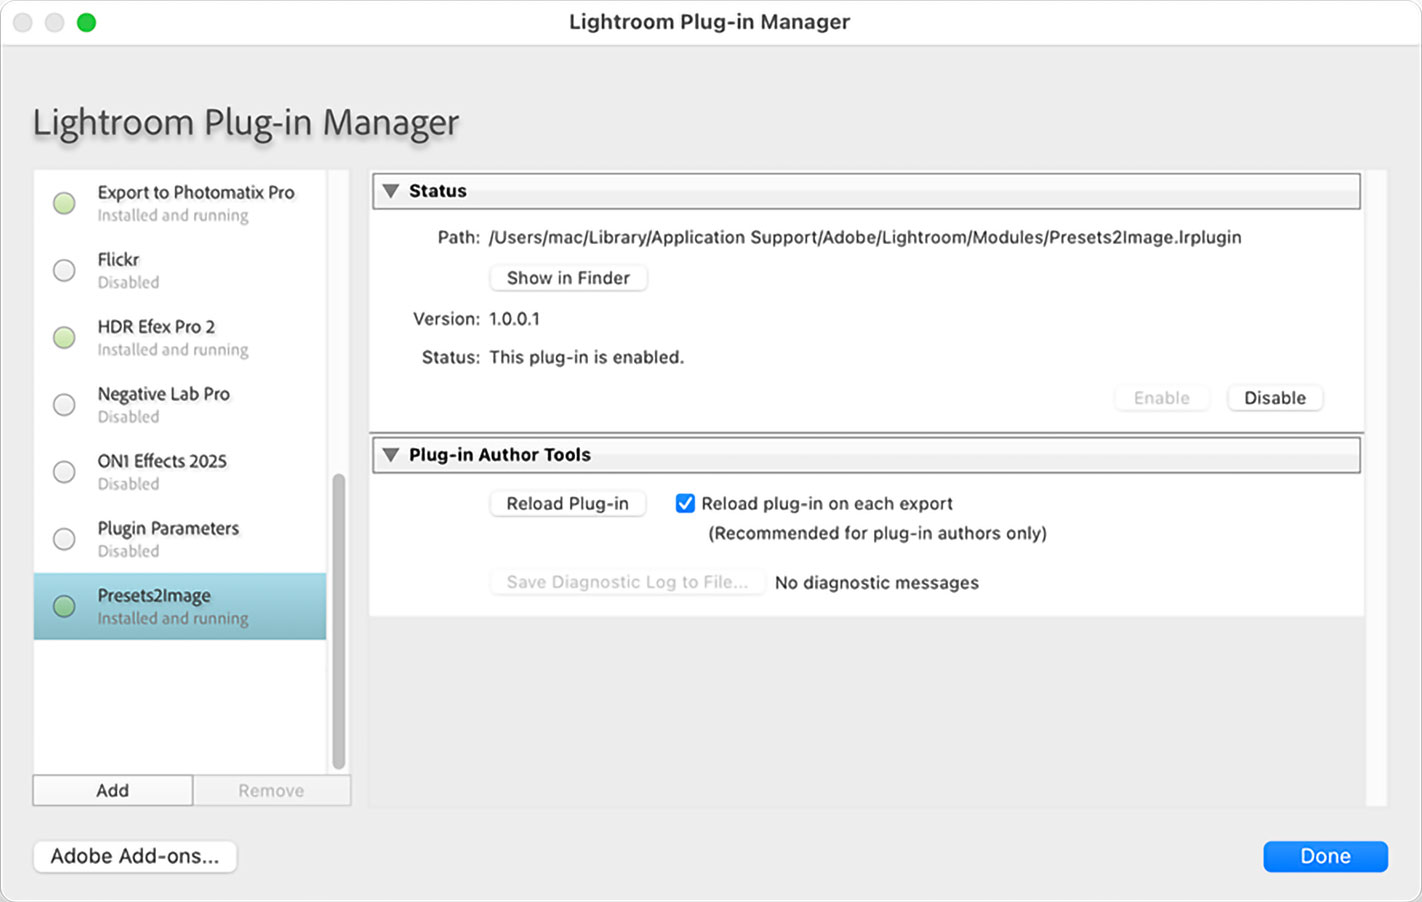
~/Library/Application Support/Adobe/Lightroom/Modules
.lrplugin item.~/Library/Application Support/Adobe/Lightroom/ModulesDocuments\Lightroom\Modules
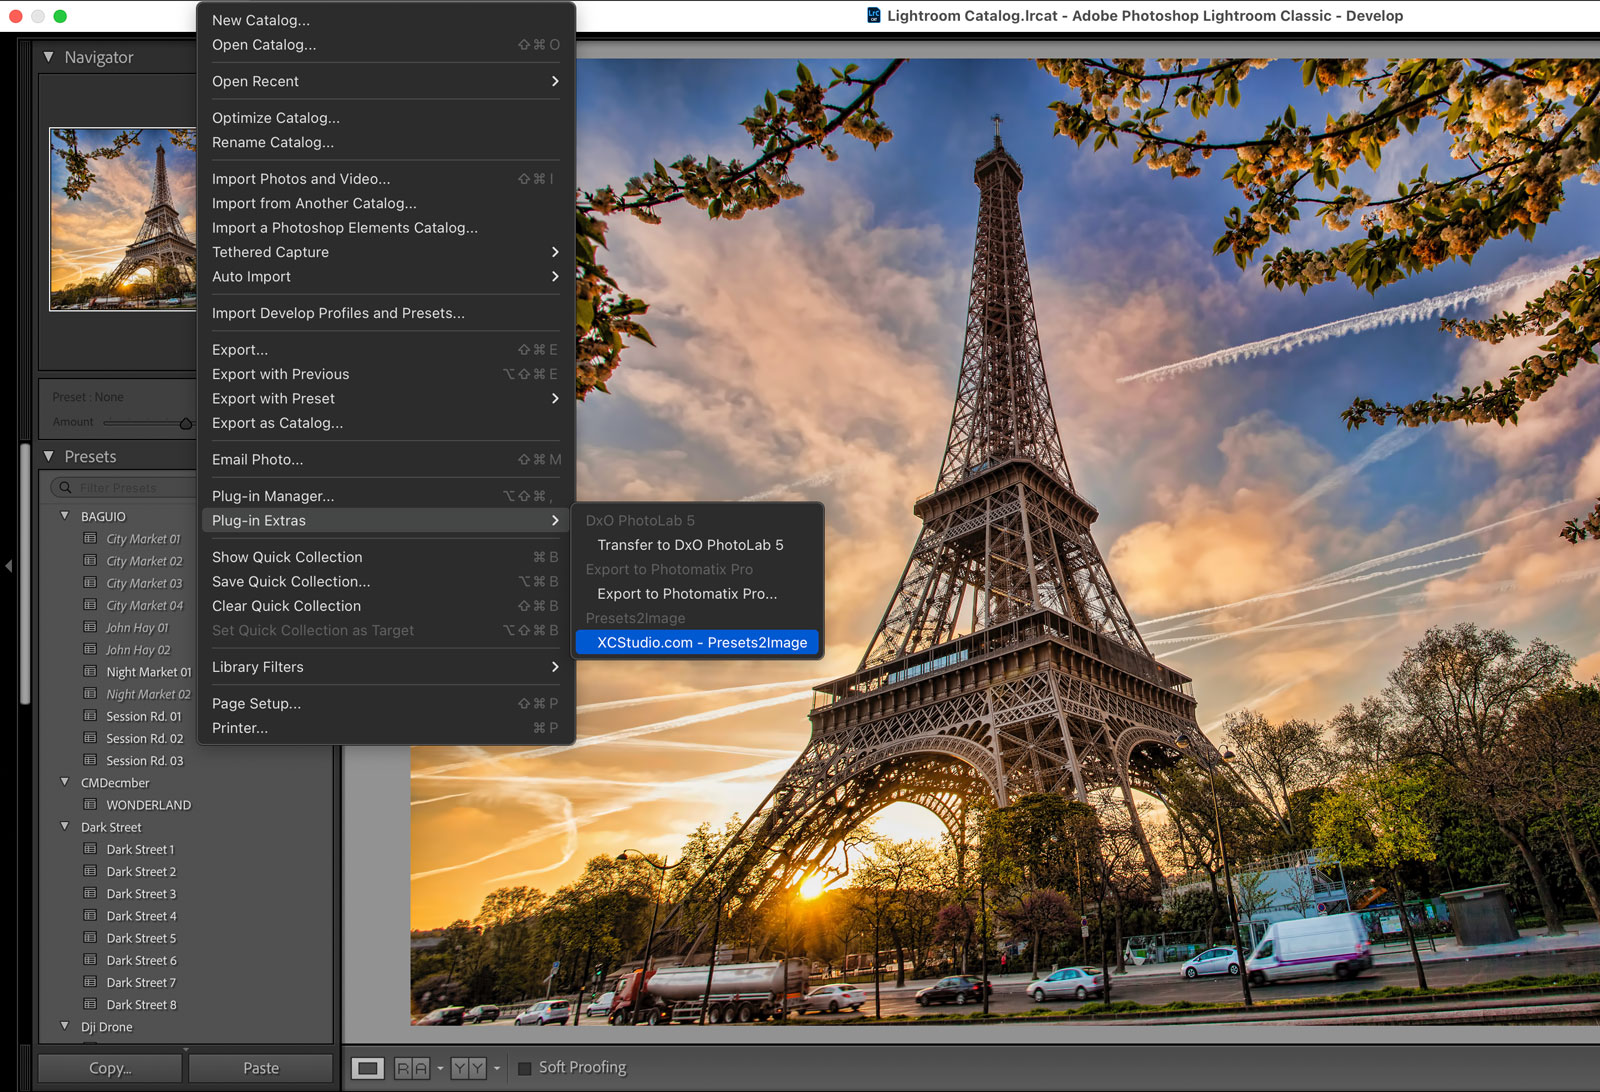
How to use the plugin for presets, HTML galleries, and LUT PNG tables.
Lightroom applies each selected preset and exports one image per preset.
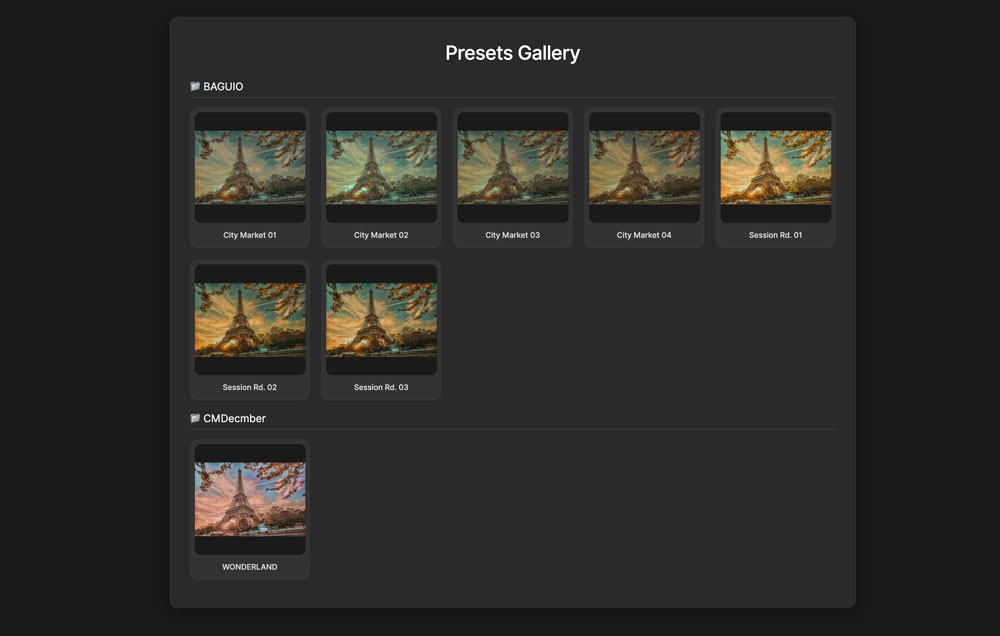
index.html in the output folder to view the gallery (presets are grouped by their Lightroom folders).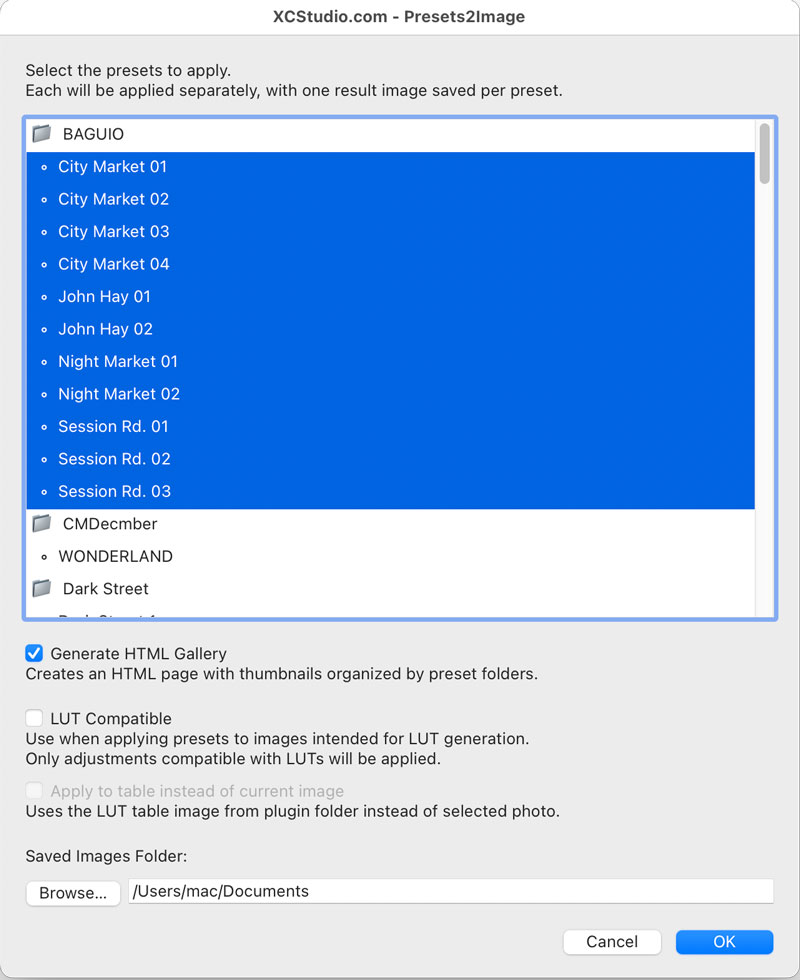
What is a LUT? A Look‑Up Table transforms colors in a predictable way. LUTs are used by desktop apps like DaVinci Resolve, Premiere Pro, Final Cut Pro and mobile apps like VideoLUT.
You can convert PNG tables to .cube with the macOS app LUT Converter — see xcstudio.com/lutconverter.
To keep LUTs accurate, operations like Blur, Sharpen, and local adjustments are ignored. LUTs store only global color transforms, so these effects won't be present in the final LUT.
The plugin applies your preset to a color reference chart (LUT table) and exports the result as a PNG. That PNG represents the transform and can be converted to .cube.
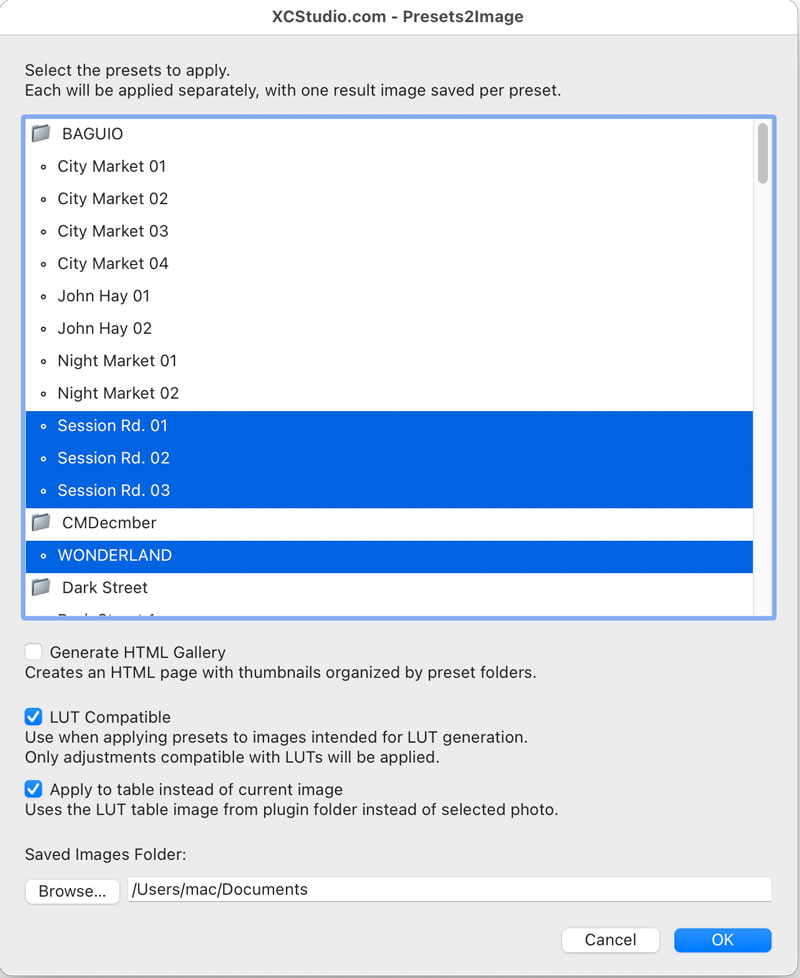
Advanced: You can swap the built‑in LUT table with your own high‑precision chart to slightly improve accuracy.